Top 10 Super Easy Tips on Building a Workbench at Home
One of the most important things you will ever build as a man is a workbench. This is because having a workbench is where you will also be building other things for your home. Without it, you won’t be able to get far with woodworking and other things that pertain to building stuff in your garage. Building a workbench is not all that difficult and even if you have the least amount of experience, you can find yourself being able to do this with confidence. For your benefit, here are some of the things you need to do if you were to build your own workbench at home.
10. Getting Started
If you have very little time to spare, you can actually get all the materials that you need in the hardware store and all you have to do is assemble the parts. However, you will still require tools such as a drill, a circular saw for cutting, a straightedge, a Miter saw, safety glasses as well as a tape measure. As for the wood itself and other parts, besides the plywood and the 2x4s you’ve already purchased, you also need 3-inch as well as 8-inch drywall screws for putting the pieces together.
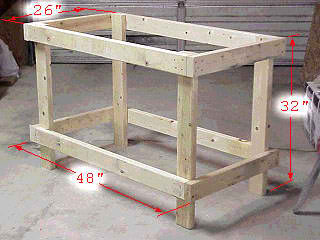
9. Framework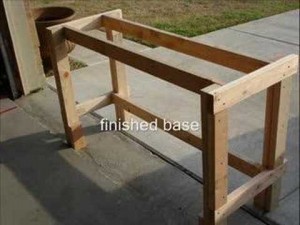
The first step in this entire process is to assemble the frame of the workbench, which also consists of the lower shelf. This is considered to be the base of your entire project when building a workbench.
8. The Lower Frame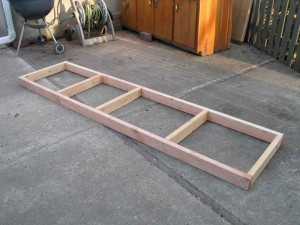
After the legs, you will then need to turn over the workbench you are making so you can attach the lower frame. Assuming you are working on this alone, you will need to use some objects to support the weight of the lower frame while you are placing the first screw. You can use objects such as some cans of paint or some planks of wood to help you while doing this. Again, use your drill to screw in the lower frame to the legs.
7. Attaching the Plywood
Now comes the part where you will be making the entire workbench into a solid structure. Attach the plywood which has exact the measurements to the upper frames and the lower frames. Once again, you can use your drill to screw in the drywall screws for the plywood and frames. After you are done with this step, you are already halfway through in this entire process.
6. Assembling the Top Shelf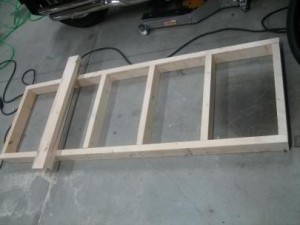
Now that you’re done with the basic workbench, you have to assemble the top shelf frame. This will serve as the area where you will put various small objects in the workbench.
5. Plywood and the Top Shelf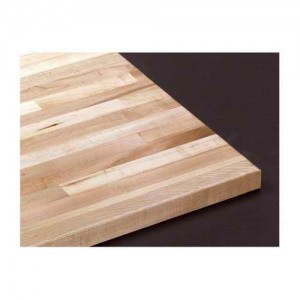
After assembling the top shelf, you will then need to screw in the plywood for it. Again, use the drill to screw them in together.
4. The Legs of the Top Shelf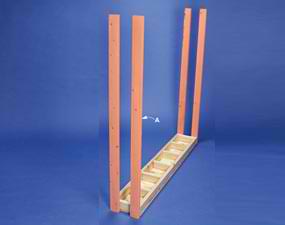
When you’re done with the plywood, the next step is to turn the top shelf upside down and attach the legs to it by screwing them together using your drill.
3. Placing Them All Together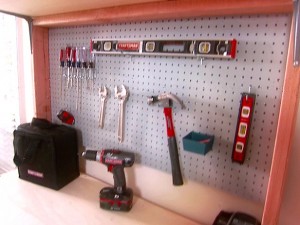
Put the top shelf with the newly-attached legs on top of the workbench and screw the legs on it. You also need to add the backer board for the top shelf to complete the entire process. Attach the remaining screws for the top shelf and the workbench frame using your drill.
2. Paint and Varnish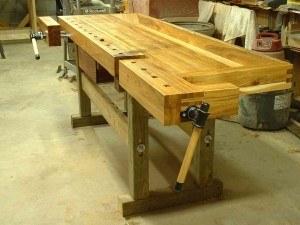
A good workbench also needs to look clean and well-painted. Make sure that there are no splints remaining by sanding the entire workbench to ensure its smoothness. If you do not want to paint it down with wood stain, you can always use varnish instead to have a natural look.
1. Accessories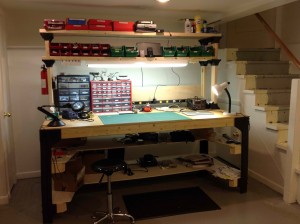
Your workbench also needs to have certain accessories in order to be more functional. One such accessory you cannot do without is placing lights in it. Buy a cheap lighting set and screw it under the top shelf to make it easier for you to work on your projects. Arrange the things you will place on it in such a way that the most used ones are the most easy to reach.
Tags
workbench-
November 16, 2017


Submit a Comment